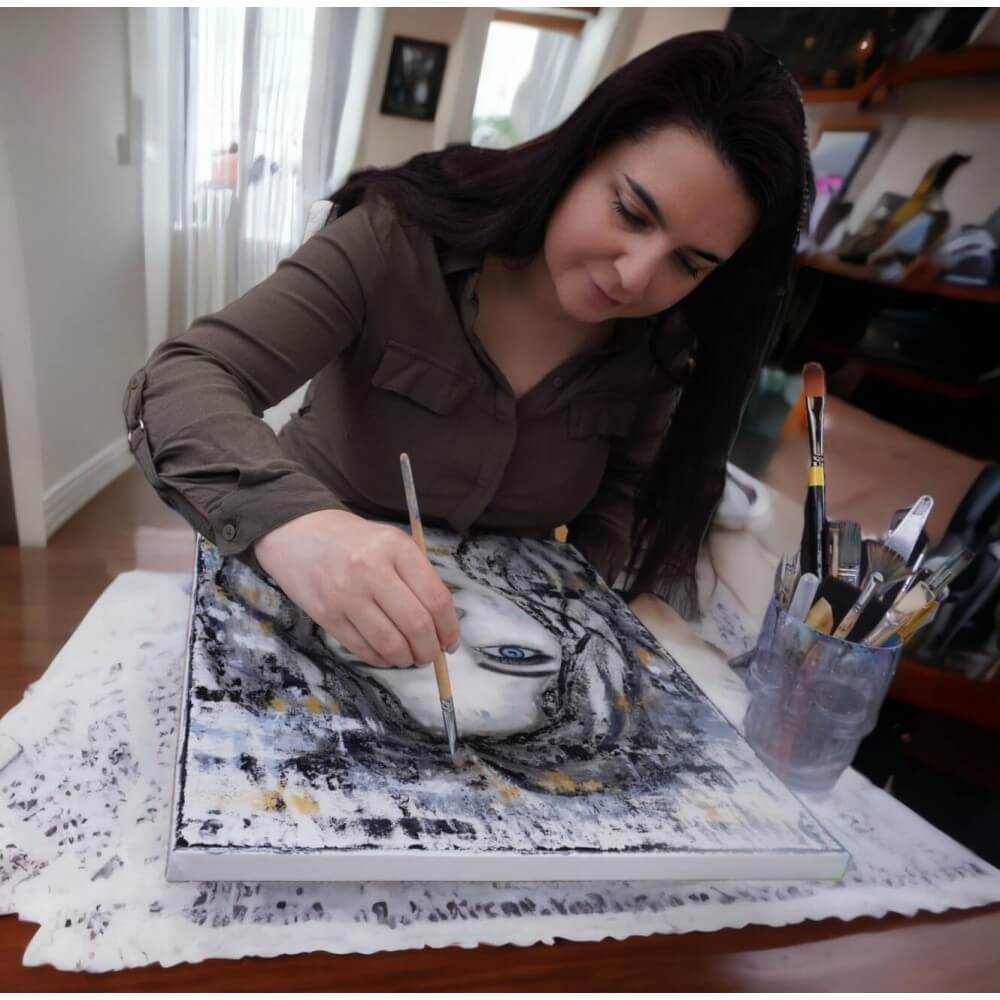
How to Create Shiny Resin Art - Step-by-Step Guide
Introduction
Welcome to our comprehensive guide on creating beautiful resin art with a shiny finish. Resin art has gained immense popularity in recent years due to its versatility and captivating glossy appearance. In this tutorial, we will walk you through the process of creating your own resin masterpiece. So, let's dive in!
Materials Needed
- Epoxy resin
- Pigments or resin dyes
- Resin molds or canvas
- Mixing cups and sticks
- Blowtorch or heat gun
- Protective gloves and goggles
- Drop cloth or plastic sheet
Step 1: Prepare Your Workspace
Before you begin, make sure to set up your workspace in a well-ventilated area. Cover your work surface with a drop cloth or plastic sheet to protect it from any spills or drips. Wear protective gloves and goggles to ensure your safety throughout the process.
Step 2: Prepare the Resin
Follow the instructions provided by the manufacturer to mix the epoxy resin. Use the recommended ratio of resin and hardener, and stir thoroughly to avoid any lumps or inconsistencies. This is also the stage where you can add pigments or resin dyes to create your desired colors.
Step 3: Pour the Resin
If you're using molds, carefully pour the resin into the molds, filling them up to the desired level. If you're working on a canvas, pour the resin directly onto the canvas and spread it evenly using a brush or spatula. You can create different patterns and effects by manipulating the resin with tools or by layering different colors.
Step 4: Eliminate Bubbles
After pouring the resin, you may notice air bubbles trapped within it. To remove them, use a blowtorch or heat gun and pass it over the surface of the resin. The heat will cause the bubbles to rise and pop, leaving your artwork bubble-free and glossy.
Step 5: Let It Cure
Allow your resin art to cure in a dust-free environment for the recommended time mentioned by the manufacturer. This can typically range from 24 to 72 hours. Avoid touching or moving the artwork during this period to prevent any imperfections.
Step 6: Finishing Touches
Once the resin has cured completely, inspect your artwork for any rough edges or imperfections. You can sand the surface gently with fine-grit sandpaper to achieve a smooth finish. Clean the surface with a soft cloth to remove any dust or debris.
Conclusion
Congratulations! You have successfully created your shiny resin art piece. Resin art offers endless possibilities for creativity, so feel free to experiment with different techniques and materials. Remember to share your stunning creations with others and continue exploring the fascinating world of resin art.
Additional Tips:
- Always read and follow the instructions provided by the resin manufacturer.
- Work in a well-ventilated area to avoid inhaling any fumes.
- Use a heat-resistant surface when using a blowtorch or heat gun.
- Protect your artwork from direct sunlight to prevent discoloration over time.
- Consider wearing a respirator mask for added protection.


